Barsha Chowdhury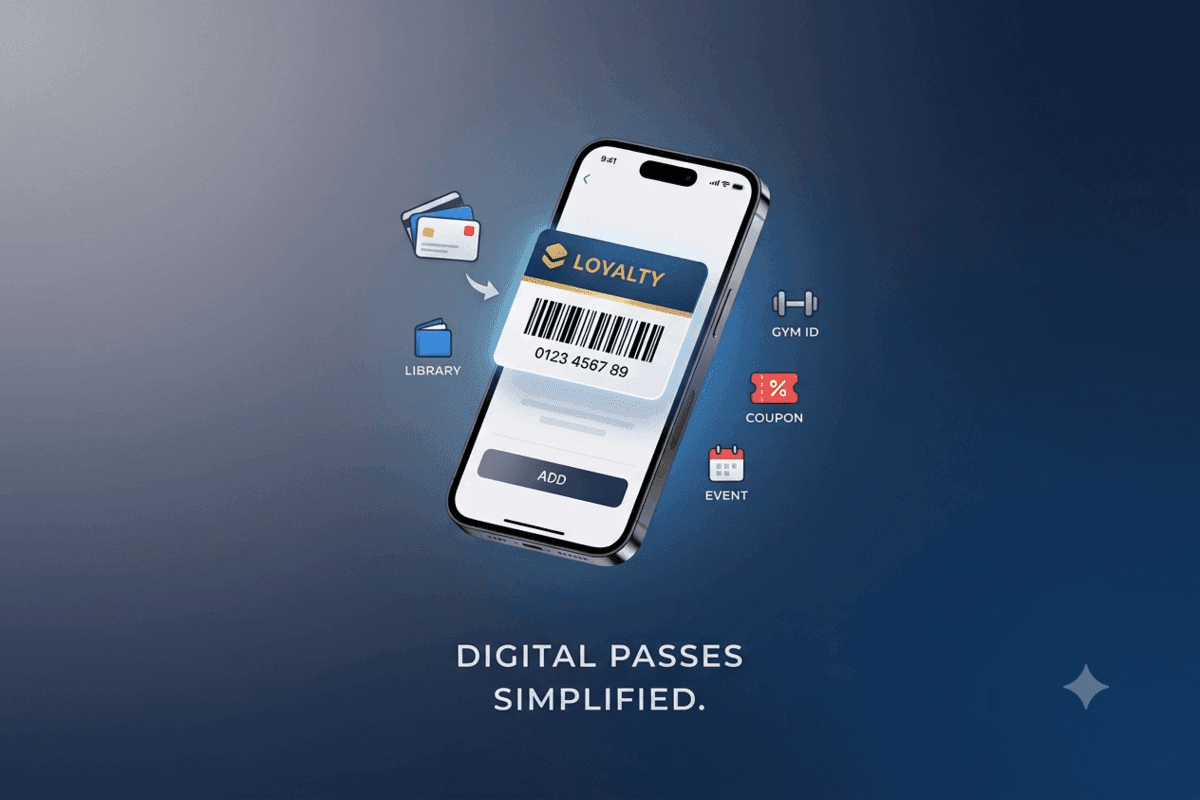
Carrying around a wallet stuffed with physical loyalty cards, event tickets, gym memberships, and paper coupons is a hassle. While the iPhone Wallet app seamlessly stores standard credit cards, many local businesses, niche clubs, and personal organizers lack official app support. This leaves your favorite non-standard cards cluttering your physical wallet. Luckily, you can solve this issue by learning how to design a custom pass in Apple Wallet.
This step-by-step guide walks you through transforming physical cards, images, or PDFs into sleek digital passes. You will learn how to create custom pass on iPhone quickly, optimize your pass layouts, and leverage hidden features in your digital pass on iPhone.
Table of Contents
Why You Should Digitized Your Physical Cards
Carrying plastic cards causes unnecessary bulk and increases the risk of loss or theft. Digitizing your personal cards into an Apple Wallet custom pass simplifies your everyday pocket dump while keeping essential credentials secure.
According to mobile industry research published by Capital One Shopping Research, over 800 million users actively rely on Apple Wallet ecosystems for daily convenience. Shifting your physical items to Apple Wallet passes gives you immediate perks:
- Instant Accessibility: Retrieve loyalty codes, library cards, or gym IDs right from your lock screen.
- Geofenced Reminders: Program your custom pass to trigger a lock-screen notification when you arrive at a specific venue.
- Decluttered Pocket: Eliminate bulky physical cards by storing every custom digital pass in one central location.
Method 1: Using Pass Generator Apps (Easiest Method)
The quickest way to add custom pass to Apple Wallet is through specialized pass creation apps available on the App Store.
Step 1: Download a Reliable Apple Wallet Pass Creator
Search the App Store for a trusted Apple Wallet pass creator app (such as Pass4Wallet, MakePass, or Pass2U Wallet). These applications allow you to convert barcodes, text, images, and locations into official .pkpass files.
Step 2: Select Your Pass Type and Design
Launch your chosen pass maker app and pick the template that matches your card:
- Store Card / Loyalty: Best for rewards program barcodes.
- Event Ticket: Ideal for concert tickets, local movie passes, or meetups.
- Coupon: Great for personal discount codes or store promotions.
- Generic Pass: Excellent for gym IDs, business cards, or medical info.
Customize the colors, headers, and labels to match the physical item.
Step 3: Scan the Barcode or QR Code
Use your iPhone camera within the app to scan the barcode (Code 128, QR Code, PDF417, or Aztec) from your physical card or PDF.
Step 4: Add pass to iPhone Wallet
Once satisfied with the visual preview, tap “Add to Apple Wallet”. Your new pass will immediately sync and appear in your Wallet app on iPhone.
Method 2: Creating Passes via Web-Based Generators
If you prefer using a desktop browser to organize details before sending them to your phone, web-based pass builders offer a streamlined alternative.
Step 1: Open a Pass Creation Website
Navigate to a web builder like PassIt, PassKit, or WalletPasses on your computer or Safari browser.
Step 2: Input Card Details and Logos
Upload relevant images (such as a company logo or background photo) and fill in primary text fields, account numbers, and expiration dates.
Step 3: Export to Your iPhone
Scan the generated QR code on your iPhone screen using your native Camera app, or email the generated .pkpass file directly to your device. Tap the attachment to complete the process and create pass in Apple Wallet.
Pro Tips to Get the Most Out of Apple Wallet Features
To maximize utility, take advantage of built-in Apple Wallet features designed to speed up your interactions:
Add Location and Time Triggers
When configuring your pass inside the generator app, assign relevant store addresses. The iPhone Wallet tips system will automatically display the pass on your lock screen as soon as you step near the location.
Keep Barcodes Clear and Readable
Always ensure proper contrast between the barcode and pass background. High contrast guarantees that optical scanners at checkout counters or turnstiles register your screen without delay.
Back Up Your Passes
Sync your wallet configuration via iCloud settings. This keeps your customized passes safe if you ever upgrade or reset your iPhone.
If you are exploring home tech upgrades alongside digital convenience, check out our guide on finding the best robot vacuum cleaner in India for automated home maintenance.
Frequently Asked Questions
Frequently Asked Questions
Can I create a custom pass in Apple Wallet without a third-party app?
Apple Wallet requires a valid .pkpass file to store custom cards. While iOS offers built-in camera scanning for standard credit cards, creating a custom pass requires either a third-party pass generator app or a web-based builder to generate the pass file format.
Are my scanned custom passes backed up if I lose my iPhone?
Yes, as long as Wallet sync is enabled in your iCloud settings. Your custom passes, along with standard card configurations, will automatically restore when you log in to a new iPhone device.
Will a custom barcode scan properly from my iPhone screen?
In almost all cases, yes. Modern optical laser scanners and camera-based readers easily read QR, PDF417, and standard 2D barcodes directly off glass screens. Just ensure your screen brightness is turned up at checkout.
Conclusion
Learning how to make a custom pass in Apple Wallet is an easy way to declutter your life. By leveraging third-party pass creators, you can consolidate loyalty rewards, gym memberships, and event tickets into a single location.
Ready to streamline your daily carry? Download a pass generator app today and start digitizing your physical cards in minutes!
Get real time update about this category directly on your device, subscribe now.